
Santa Ana, CA, a bustling city with over 310,000 residents, is home to a diverse array of living spaces, from historic bungalows in Floral Park to modern condos in South Coast Metro. In 2025, vinyl flooring in Santa Ana has become a top choice for homeowners seeking a durable, stylish, and affordable flooring solution. Installing vinyl flooring can be a rewarding DIY project or a professional job, but it requires careful planning to ensure a flawless result. At MMY Flooring, a leading flooring store in Santa Ana, we’re here to guide Santa Ana homeowners through the installation process with expert tips tailored to the city’s unique needs. Let’s dive into how to install vinyl flooring in your Santa Ana home this year.
Table of content
-
- Why Vinyl Flooring Installation Matters in Santa Ana
- Preparing Your Santa Ana Home for Vinyl Flooring Installation
- Step-by-Step Guide to Installing Vinyl Flooring
- Climate-Specific Installation Tips for Santa Ana
- Common Installation Mistakes to Avoid
- How MMY Flooring Supports Your Santa Ana Installation
- Conclusion: Install Vinyl Flooring with Confidence in Santa Ana
Why Vinyl Flooring Installation Matters in Santa Ana
Proper installation is key to unlocking the full potential of vinyl flooring in Santa Ana homes. With the city’s humid climate—reaching up to 70% humidity in summer—and an average of 14 inches of rainfall annually, mostly from November to March, flooring must be installed with moisture in mind to prevent issues like warping or mold growth. A well-installed vinyl floor not only enhances the aesthetic appeal of your home but also ensures its longevity, saving you time and money on repairs or replacements.
Vinyl flooring is a popular choice in Santa Ana due to its waterproof properties, durability, and versatility, making it ideal for high-traffic areas like kitchens, bathrooms, and living rooms. However, even the best vinyl flooring can underperform if installed incorrectly. For instance, failing to account for Santa Ana’s humidity can lead to gaps or buckling, while an uneven subfloor can cause the vinyl to lift over time. By following the right installation steps, Santa Ana homeowners can enjoy a beautiful, long-lasting floor that withstands the city’s climate and lifestyle demands.
In 2025, DIY projects are on the rise, and many Santa Ana homeowners are opting to install vinyl flooring themselves, thanks to user-friendly options like click-lock vinyl. Whether you’re a DIY enthusiast or prefer professional installation, understanding the process can help you achieve a seamless result. MMY Flooring offers both DIY-friendly vinyl and professional installation services, ensuring every Santa Ana home gets the perfect floor.
Preparing Your Santa Ana Home for Vinyl Flooring Installation
Preparation is the foundation of a successful vinyl flooring installation in Santa Ana. Before you begin, take these steps to ensure your home is ready for the new flooring.
First, measure your space accurately to determine how much vinyl flooring you’ll need. Include extra material (about 10%) to account for cuts, mistakes, or future repairs. For a typical Santa Ana home, such as a 1,200-square-foot condo in South Coast Metro, you might need around 1,320 square feet of vinyl to cover the living room, kitchen, and hallways. Accurate measurements prevent shortages and reduce waste, making the process more efficient.
Next, clear the area of furniture, appliances, and decorations to create a clean workspace. In a Santa Ana kitchen, this might mean moving the refrigerator, stove, and dining table to another room. If you’re installing over an existing floor, such as tile or laminate, ensure it’s in good condition—free of cracks, loose tiles, or moisture damage. Vinyl can often be installed over existing floors, but any imperfections can cause issues down the line.
Finally, prepare the subfloor by ensuring it’s clean, dry, and level. In Santa Ana’s humid climate, check for moisture in the subfloor, especially in ground-floor homes or basements, where humidity can seep through. Use a moisture barrier if needed to protect your vinyl flooring from potential dampness. A level subfloor prevents uneven spots that could lead to lifting or cracking, ensuring a smooth, professional finish.
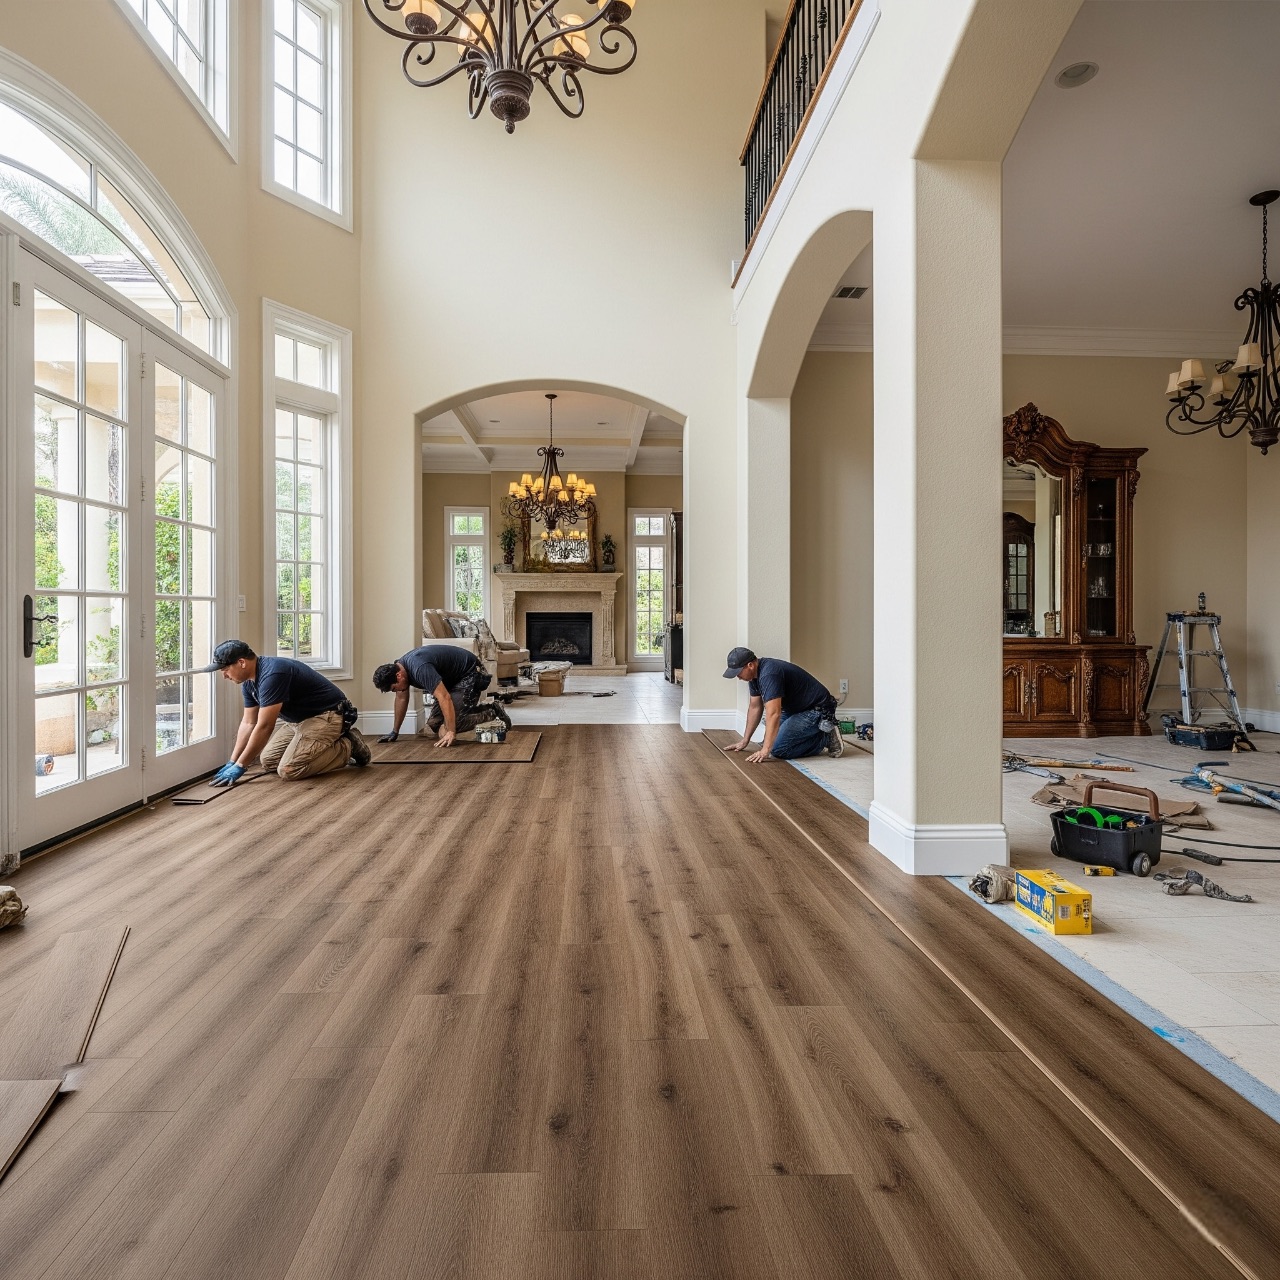
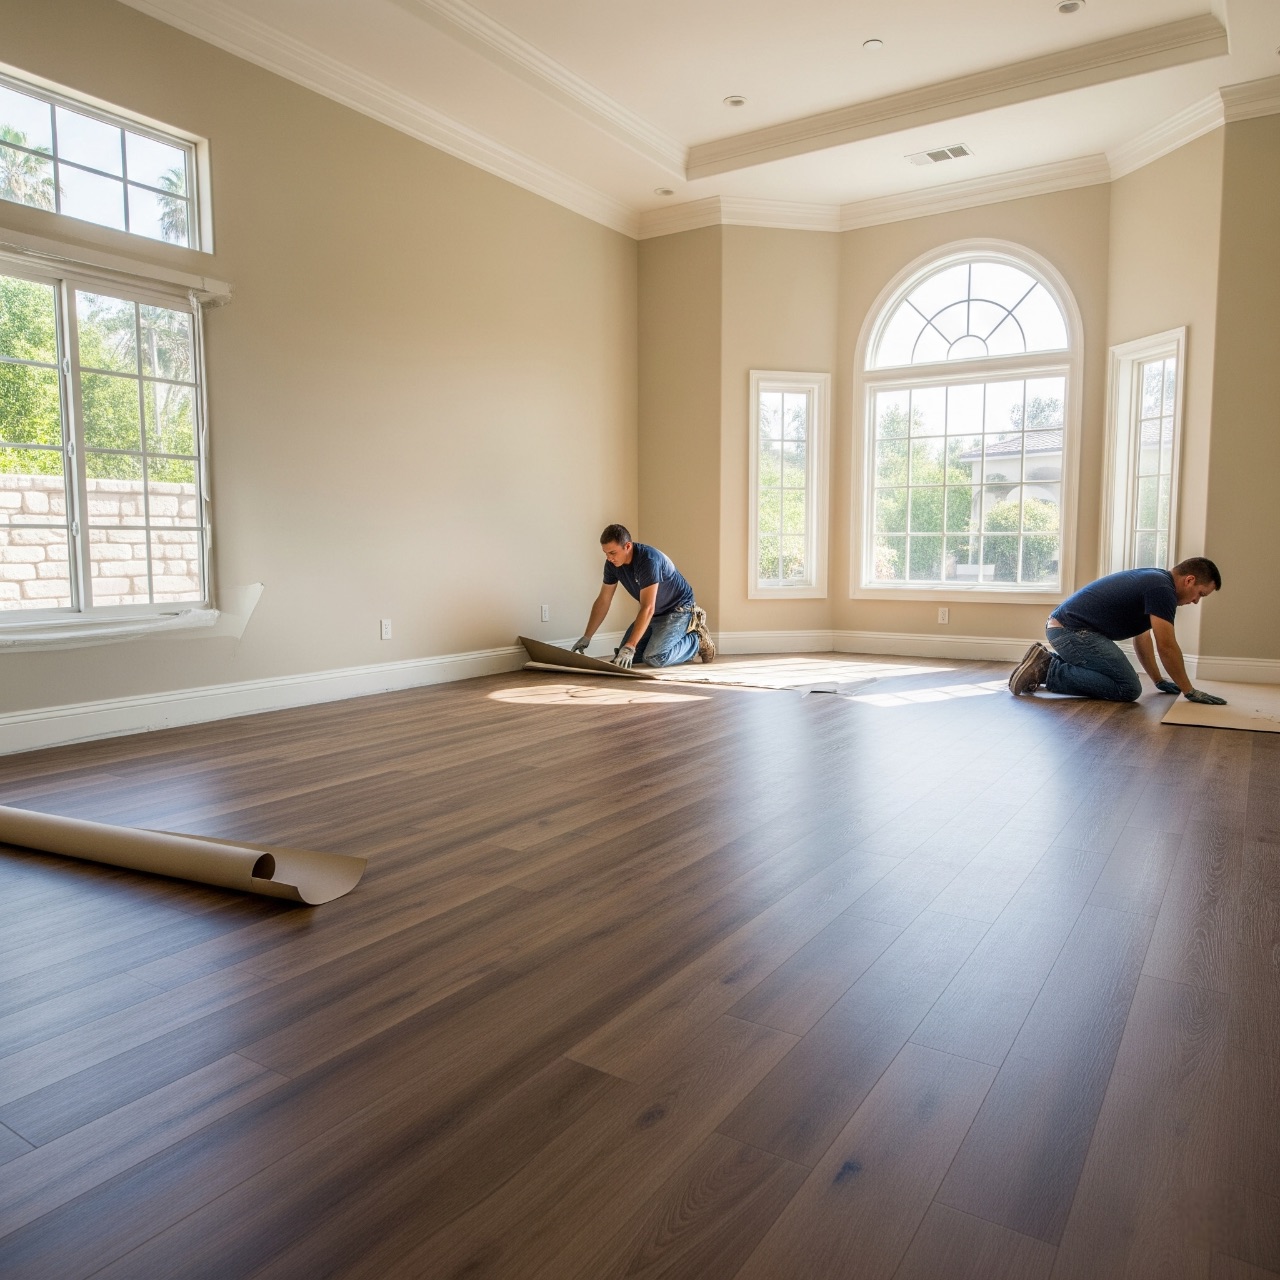
Step-by-Step Guide to Installing Vinyl Flooring
Installing vinyl flooring in your Santa Ana home can be a straightforward process if you follow these steps. This guide focuses on click-lock vinyl, a popular DIY option in 2025 due to its glue-free installation.
Step 1: Acclimate the Vinyl
Vinyl flooring needs to adjust to your home’s temperature and humidity before installation. In Santa Ana, where summer highs average 85°F and winter lows dip to 40°F, temperature fluctuations can cause the material to expand or contract. Place the unopened vinyl boxes in the room where they’ll be installed for at least 48 hours, keeping the room at a consistent temperature (around 65-75°F) to ensure proper acclimation.
Step 2: Gather Your Tools
You’ll need a few basic tools for installation: a utility knife, measuring tape, straightedge, spacers, a rubber mallet, and a tapping block. A vinyl cutting tool can also make the process easier, especially for intricate cuts around doorways or corners. Ensure you have a clean workspace and safety gear, like gloves and knee pads, to make the job more comfortable.
Step 3: Start with the First Row
Begin in a corner of the room, working left to right along the longest wall for a straight starting point. Lay the first plank with the tongue side facing the wall, using spacers (about 1/4 inch) to create an expansion gap. This gap is crucial in Santa Ana’s humid climate, allowing the vinyl to expand without buckling. Click the second plank into the first at a slight angle, pressing down until it locks into place. Continue along the row, cutting the last plank to fit with a utility knife.
Step 4: Install Subsequent Rows
For the second row, stagger the seams by starting with a plank cut to about two-thirds its length (e.g., 8 inches for a 12-inch plank) to create a natural look. Click the plank into the first row, ensuring a tight fit, and use a tapping block and rubber mallet to secure it. Continue installing rows, checking periodically to ensure the floor remains level and the expansion gap is maintained. In a Santa Ana living room, this process might take a few hours for a 300-square-foot space.
Step 5: Cut Around Obstacles
When you reach obstacles like doorways, vents, or corners, measure and mark the plank, then use a utility knife or jigsaw to cut it to shape. For example, in a Floral Park home with intricate trim, you might need to cut around baseboards or radiator pipes. Take your time to ensure precise cuts for a professional finish.
Step 6: Finish and Clean Up
Once all planks are installed, remove the spacers and install baseboards or trim to cover the expansion gap. Sweep the floor to remove debris, and give it a light mop with a vinyl-safe cleaner to reveal its full beauty. Avoid heavy foot traffic for 24 hours to let the floor settle, ensuring a stable, long-lasting result.
Climate-Specific Installation Tips for Santa Ana
Santa Ana’s climate requires special attention during vinyl flooring installation to ensure durability. The city’s humid summers, with humidity levels up to 70%, can cause vinyl to expand if not properly acclimated, as mentioned earlier. Ensure the room’s humidity is controlled during installation—use a dehumidifier if necessary to keep it below 60%. This prevents excessive expansion that could lead to gaps or buckling over time.
Rainy winters, averaging 14 inches annually, can also introduce moisture into your home, especially in ground-floor spaces. Before installation, check for any signs of water damage in the subfloor, such as discoloration or soft spots, and address them with a moisture barrier or repairs. During installation, ensure windows and doors are closed to prevent rain from entering, particularly if you’re working in an open area like a patio or sunroom.
Temperature fluctuations in Santa Ana, ranging from 40°F in winter to 85°F in summer, can affect vinyl’s flexibility during installation. Keep the room at a consistent temperature (65-75°F) to make the planks easier to handle and ensure a tight fit. If installing in summer, work in the morning to avoid the heat of the day, which can make the vinyl too pliable and harder to cut accurately.
Common Installation Mistakes to Avoid
Even with careful planning, Santa Ana homeowners can make mistakes during vinyl flooring installation that affect the final result. Here are some common pitfalls to avoid:
- Skipping Acclimation: Not allowing the vinyl to acclimate to Santa Ana’s temperature and humidity can lead to expansion or contraction issues, causing gaps or buckling over time.
- Ignoring Subfloor Issues: An uneven or damp subfloor can cause the vinyl to lift or warp. In Santa Ana’s humid climate, always check for moisture and level the subfloor before starting.
- Forgetting Expansion Gaps: Failing to leave a 1/4-inch gap around the perimeter can cause the vinyl to buckle as it expands, especially in humid conditions. Use spacers to ensure proper spacing.
- Using the Wrong Tools: Cutting vinyl with dull blades or improper tools can result in jagged edges, affecting the fit and finish. Invest in a sharp utility knife or vinyl cutter for clean cuts.
- Rushing the Process: Hurrying through installation, especially around obstacles, can lead to mistakes like misaligned planks or improper cuts. Take your time to measure and cut accurately for a professional result.
Avoiding these mistakes will help you achieve a flawless vinyl flooring installation in your Santa Ana home, ensuring it looks great and lasts for years.
How MMY Flooring Supports Your Santa Ana Installation
MMY Flooring has been serving Orange County for over 20 years, with a 95% project success rate, making us the go-to flooring store in Santa Ana for vinyl flooring installations. We offer a wide range of click-lock vinyl options for DIY enthusiasts, as well as professional installation services for those who prefer a hands-off approach. Our showroom in El Monte provides free delivery and consultations to make your project seamless.
Visit our Santa Ana page to explore our vinyl flooring collection, from light oak to modern gray planks, all designed to withstand Santa Ana’s climate. For more flooring ideas, browse our MMY Flooring website, or check out Houzz’s guide to flooring trends for inspiration. Once your floor is installed, our guide on How to Maintain Your Vinyl Flooring offers tips to keep it looking pristine in Santa Ana’s humid conditions. We also provide tools and accessories, like spacers and vinyl cutters, to ensure your installation goes smoothly.
Conclusion: Install Vinyl Flooring with Confidence in Santa Ana
Installing vinyl flooring in Santa Ana in 2025 can transform your home, offering durability, style, and affordability for every space. By preparing properly, following the right steps, and accounting for Santa Ana’s climate, you can achieve a flawless result that lasts for years. Whether you’re a DIY enthusiast or prefer professional help, MMY Flooring is here to support your project. Contact us via our Santa Ana page to schedule a free consultation and install your vinyl flooring with confidence today!