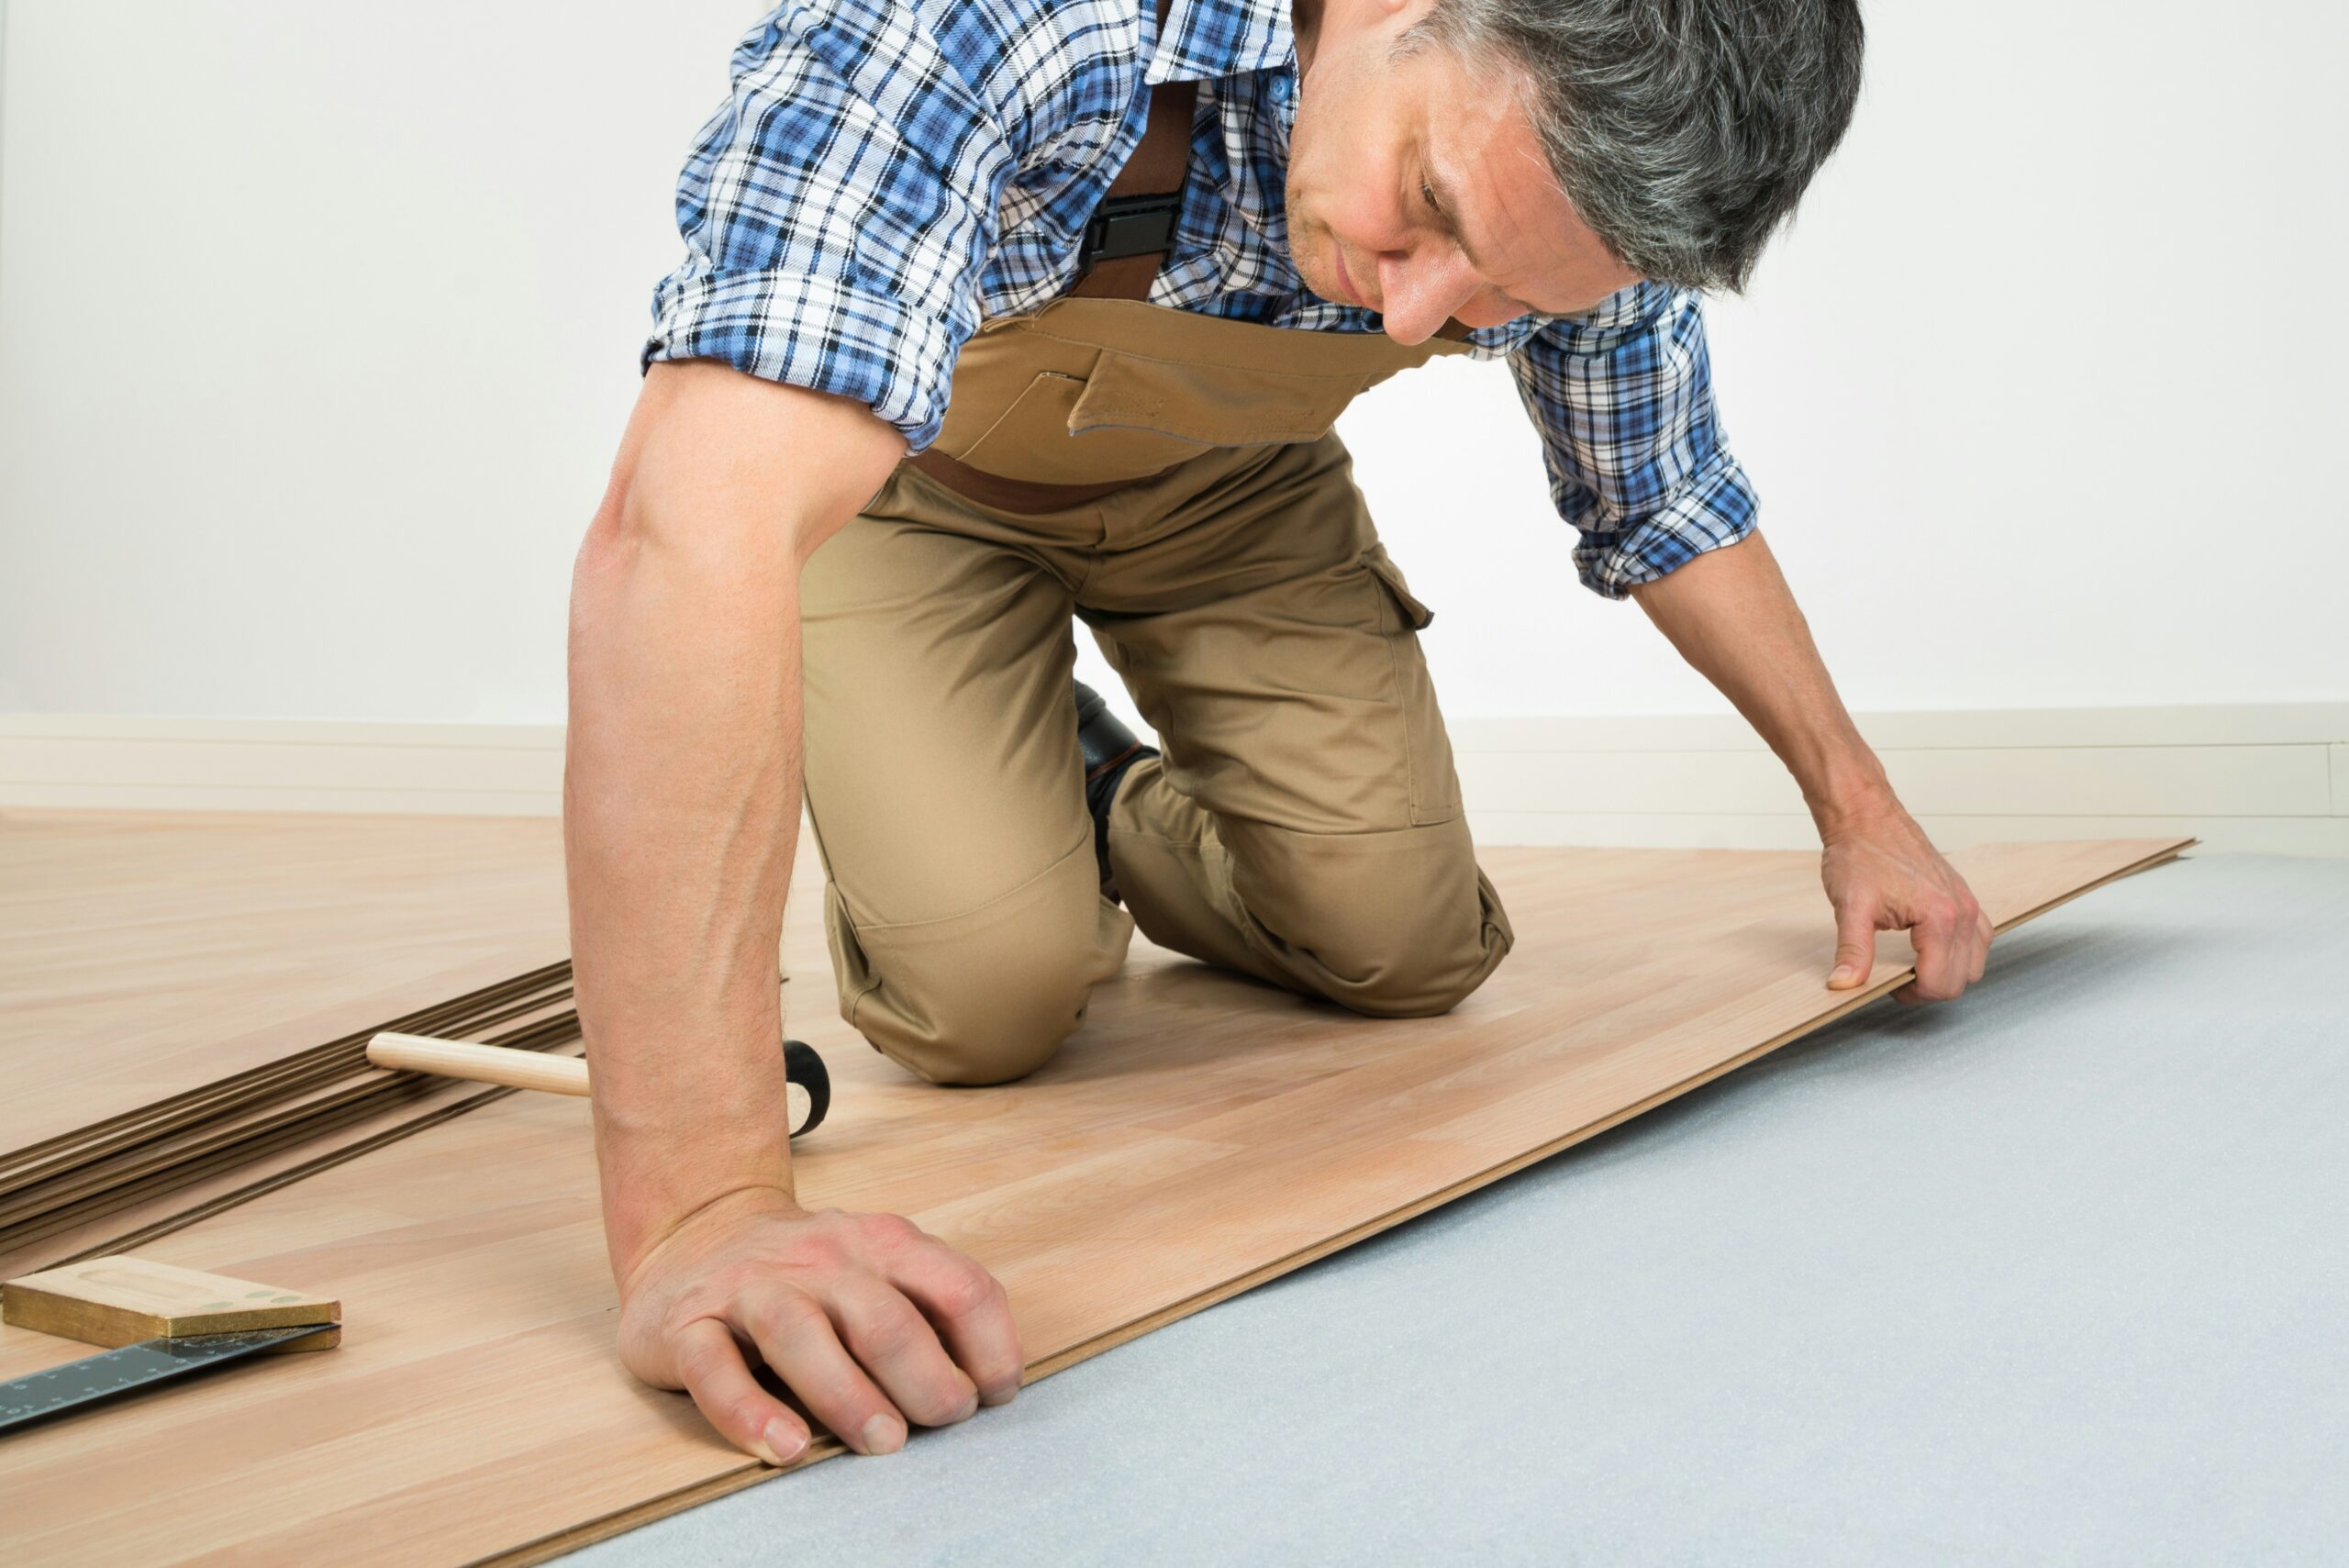
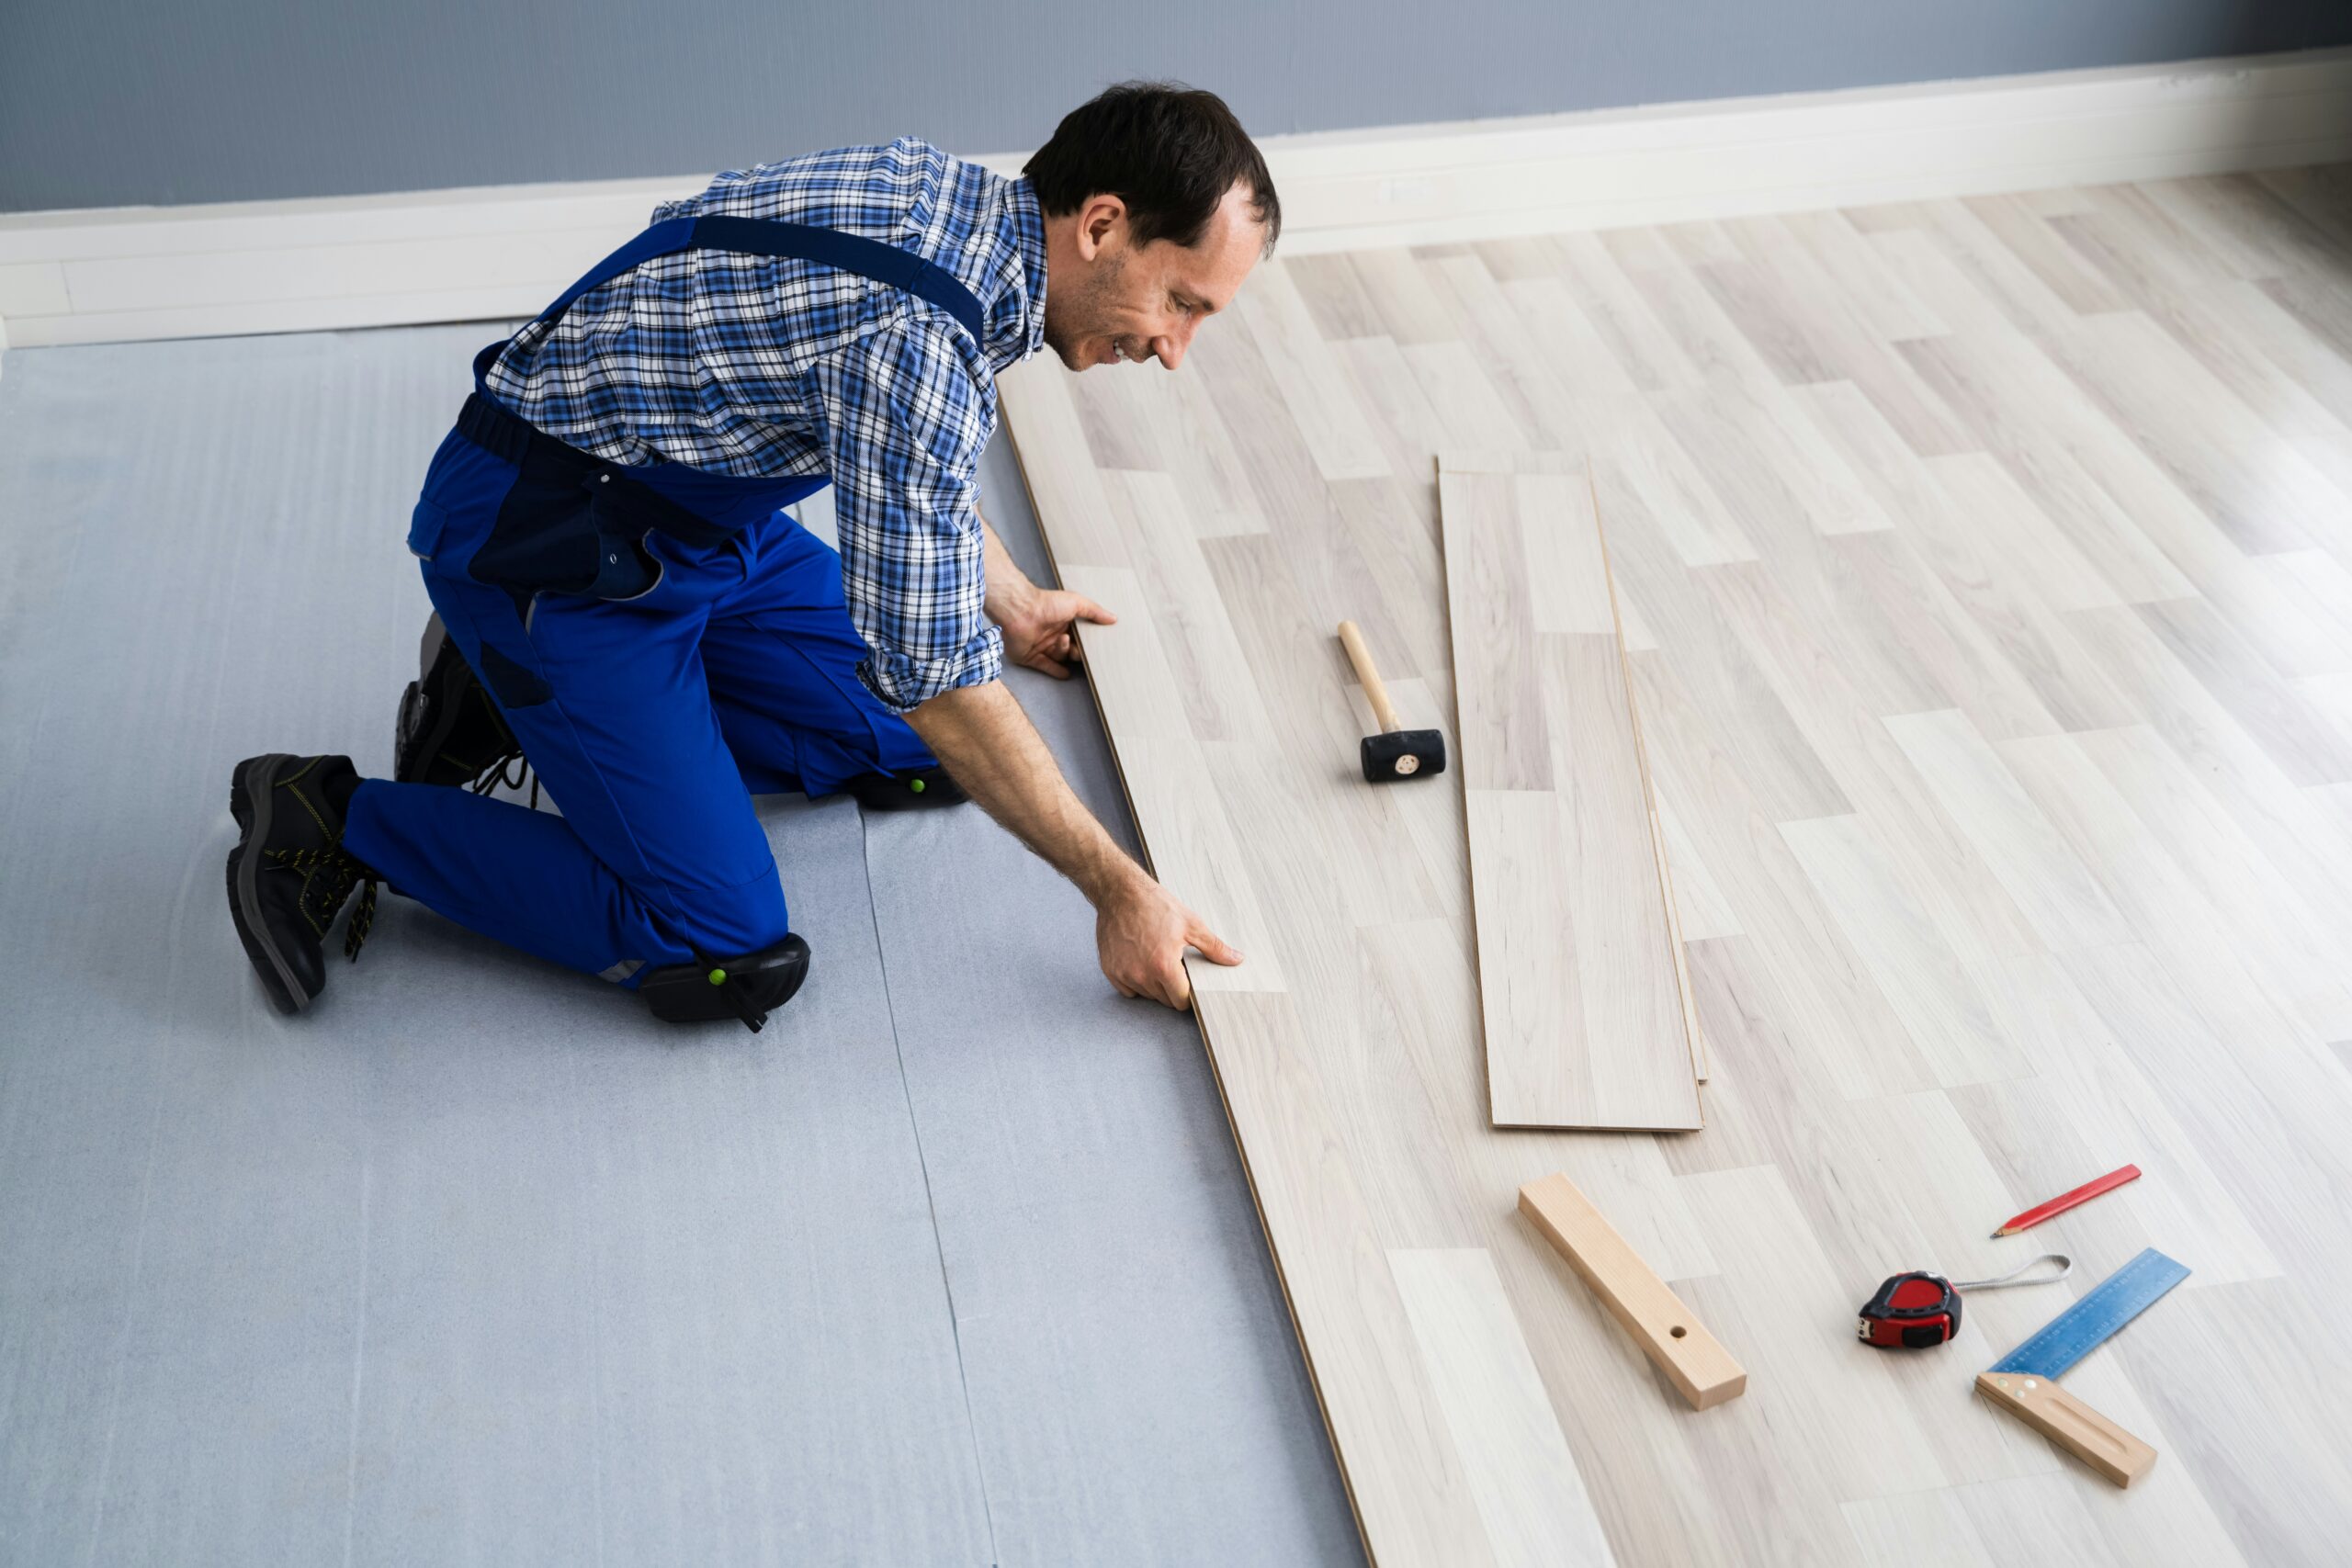
Vinyl flooring has quickly become one of the most popular options for both residential and commercial spaces. Known for its durability, water resistance, and ease of maintenance, vinyl flooring comes in a variety of designs, including wood and stone-like textures, that can fit any interior style. For those seeking quality flooring in Los Angeles, vinyl offers a cost-effective, versatile solution. Proper installation is key to maximizing its lifespan, and this adhesive guide will walk you through each step for a smooth and successful installation.

Why Choose Vinyl Flooring?
Before diving into the installation process, let’s highlight some of the advantages of vinyl flooring:
- Durability: Vinyl is highly resistant to scratches, dents, and moisture, making it ideal for high-traffic areas.
- Design Variety: Vinyl flooring is available in numerous colors, textures, and patterns, allowing for a customized look.
- Easy Maintenance: Vinyl floors are easy to clean and require minimal maintenance, a great fit for busy homes or commercial spaces.
- Affordable Pricing: Compared to hardwood and stone, vinyl is an affordable option, providing a luxurious look without breaking the bank.
For those in need of expert advice and quality materials, MMY Flooring’s vinyl flooring options in Los Angeles offer top-notch selections and knowledgeable support (see more here).
Step-by-Step Guide to Adhesive Installation for Vinyl Flooring
Tools and Materials You’ll Need:
- Vinyl flooring adhesive
- Fine-toothed trowel (per adhesive instructions)
- Floor roller
- Utility knife
- Tape measure
- Chalk line or straight edge
- Moisture meter (for humid areas)
Step 1: Prepare the Subfloor
A clean, dry, and even subfloor is critical for proper adhesion. Any dust, dirt, or debris will prevent the adhesive from bonding securely, leading to bubbles and warping over time.
- Clean and Dry: Sweep and vacuum the subfloor thoroughly. For humid climates, use a moisture meter to ensure the subfloor is completely dry.
- Level the Surface: Fill in any gaps or uneven areas with a leveling compound. Allow it to dry completely before proceeding.
- Remove Old Flooring: If possible, remove old flooring, as vinyl adheres best to a smooth, fresh surface.
Proper preparation can extend the lifespan of your flooring and enhance its appearance. You can find high-quality underlayment and adhesive products at MMY Flooring to make sure you’re using the right materials for the job.
Step 2: Acclimate the Vinyl Flooring
Allow the vinyl planks or sheets to acclimate to the room’s environment. This helps prevent shrinking or expanding once the flooring is installed.
- Room Temperature: Keep the room between 65°F and 85°F.
- Time: Let the flooring sit in the installation area for at least 24–48 hours. This step allows the material to adjust to the room’s temperature and humidity levels.
Step 3: Plan Your Layout
A good layout will make installation easier and more visually appealing.
- Center the Layout: Begin from the center of the room and work outward to ensure a balanced look.
- Mark Guidelines: Use a chalk line or straight edge to mark a starting line on the floor. This will help you align the first row of vinyl planks.
A well-planned layout minimizes cutting, saving time and material costs. Many flooring stores in Los Angeles, like MMY Flooring, offer guidance on layout planning to achieve a seamless look.
Step 4: Apply the Adhesive
The adhesive application is a crucial step in the installation process. Each adhesive type has its unique requirements, so be sure to follow the manufacturer’s guidelines.
- Use the Correct Trowel: The trowel’s size should match the adhesive’s specifications. A fine-toothed trowel is typically recommended for vinyl flooring.
- Spread Evenly: Apply the adhesive to a small section of the floor. Working in sections prevents the adhesive from drying out before you can lay the vinyl.
- Cover Only What You Can Install: Apply adhesive to manageable sections, covering only as much space as you can install within 30 minutes. This is referred to as “open time.”
Tip: When in doubt, consult the manufacturer’s instructions or ask for advice at a flooring store in Los Angeles with a knowledgeable team to ensure you’re using the correct tools and techniques.
Step 5: Place the Vinyl Flooring
Now it’s time to start laying the vinyl planks or tiles.
- Start Along the Guide Line: Position the first plank along the guide line and press down firmly. Continue placing adjacent planks, ensuring they fit snugly together.
- Avoid Gaps: Place each piece carefully to avoid leaving gaps, which can collect dirt and moisture.
- Use a Roller: After laying down each section, use a floor roller to press the vinyl firmly into the adhesive. This step is essential to achieve a tight bond and prevent future lifting or bubbling.
Note: Some adhesives require the flooring to “float” slightly for a few minutes before rolling. Check adhesive instructions for specifics.

Step 6: Trim Around Obstacles and Edges
For a polished finish, it’s important to cut vinyl planks carefully around doorways, walls, and fixtures.
- Measure and Mark: For tricky areas, use a pencil or chalk to mark the plank or tile accurately.
- Use a Utility Knife: Score along the marked lines with a utility knife, and then snap the piece to create a clean break.
- Allow for Expansion: Leave a small gap around the edges (approximately 1/4 inch) for expansion and contraction due to temperature changes. You can cover these gaps later with baseboards or trim.
If you’re looking for cutting tools and tips, local flooring stores in Los Angeles often provide equipment rentals or helpful advice for DIY installation projects.
Step 7: Roll the Entire Floor
Once all the vinyl is down, use a roller to go over the entire surface.
- Ensure Full Adhesion: Press down firmly on every section to guarantee full contact between the vinyl and adhesive.
- Focus on Edges and Seams: Roll along the edges and seams, where adhesion can be more challenging. This prevents lifting and helps achieve a seamless appearance.
Step 8: Allow Adhesive to Cure
Allowing the adhesive to cure is essential for a secure installation.
- Cure Time: Most adhesives require 24-48 hours to fully cure. Avoid walking on the floor during this time to prevent shifting.
- Avoid Moisture: Keep the area dry to prevent interference with the adhesive’s bonding process.
Following the curing guidelines will help your flooring remain securely in place for years to come. If you’re uncertain about curing times, don’t hesitate to ask for guidance at a reputable flooring store.
Step 9: Finish with Trim and Baseboards
Once the floor is fully installed and cured, add finishing touches to complete the look.
- Install Baseboards: Use trim to cover the expansion gaps along the walls.
- Clean Any Residual Adhesive: Wipe off any adhesive residue with a damp cloth. Avoid using harsh chemicals, as they can damage the vinyl’s surface.
Maintenance Tips for Long-Lasting Vinyl Flooring
Vinyl flooring is easy to care for, but a few practices can help extend its life:
- Regular Cleaning: Sweep and mop regularly to keep dirt and debris from scratching the surface.
- Use Floor Protectors: Place pads under furniture to prevent dents and scratches.
- Avoid Excessive Moisture: Although vinyl is water-resistant, excessive moisture can weaken adhesive bonds. Mop with a damp cloth, not a soaking wet mop.
Check our cleaning guide for vinyl flooring to dive deeper.

Conclusion
Vinyl flooring is an excellent choice for those seeking durable, stylish, and budget-friendly flooring solutions. With the right adhesive and careful installation, you can achieve a polished, professional look in any room. For those in Los Angeles, MMY Flooring provides a wide selection of vinyl options and expert guidance, ensuring you have everything you need for a successful DIY installation.
From subfloor preparation to the final trim, following these adhesive installation steps will help you enjoy beautiful, long-lasting vinyl floors in your home or business.
